Handmade heartfelt gifts for Teachers' Day
Sign up now: Get tips on how to help your child succeed

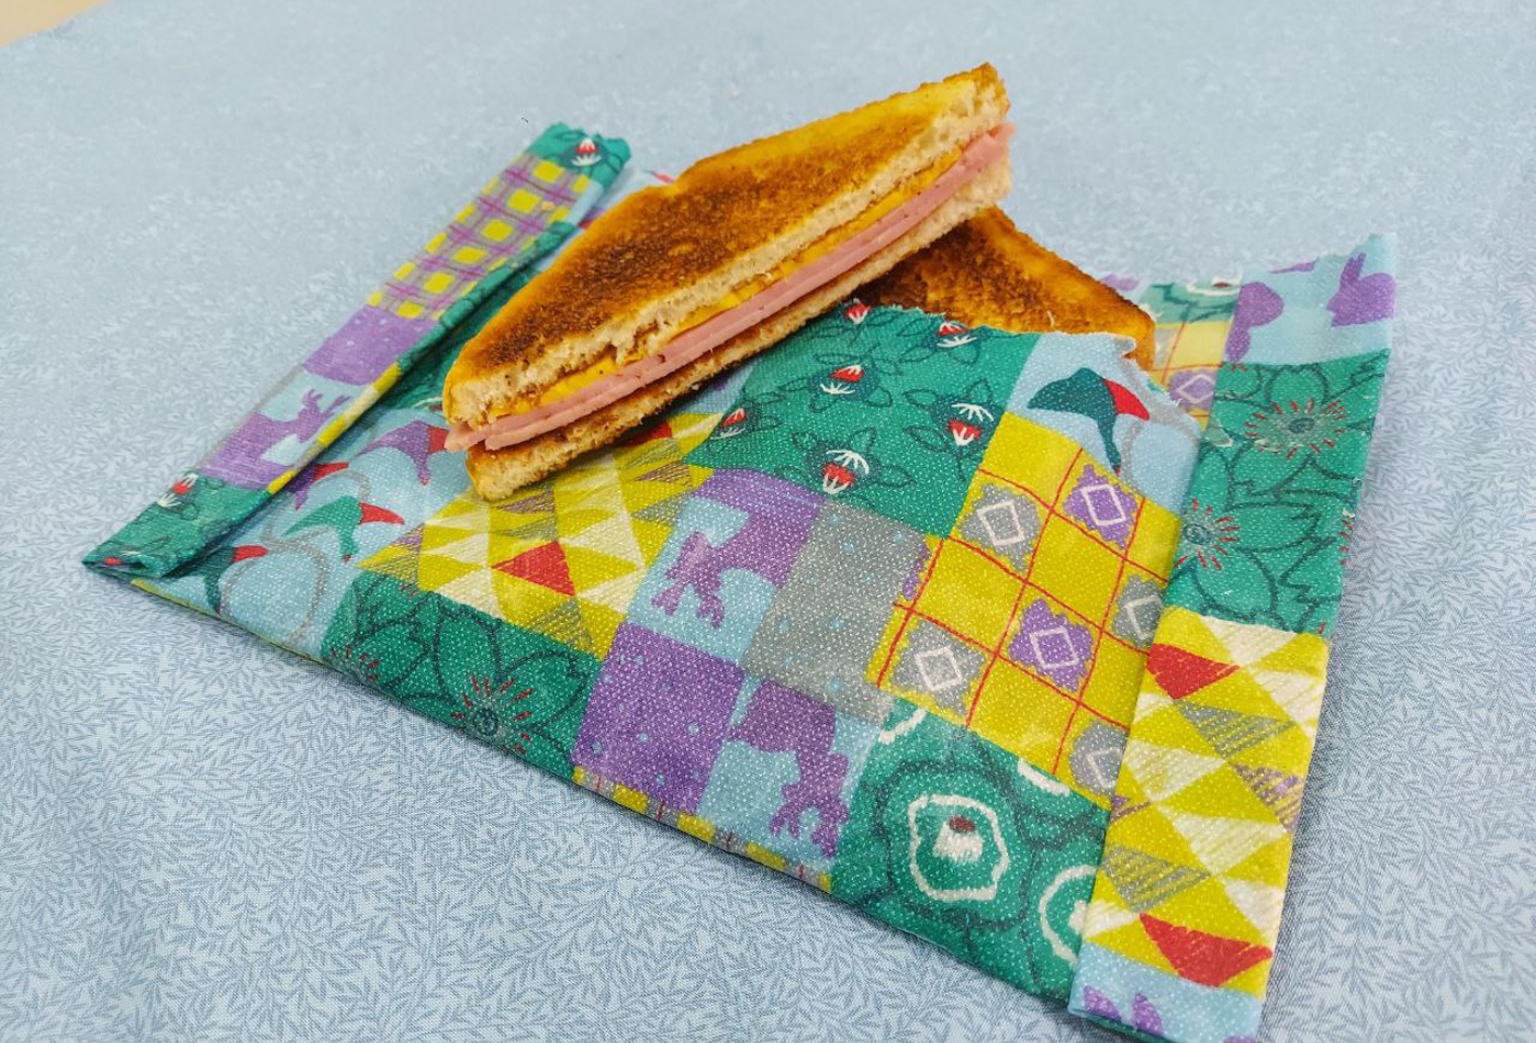
Plastic bags and cling wrap are passe. Why not go green with beeswax wraps instead?
ST PHOTO: ZAN SAM
SINGAPORE - With Teachers' Day just around the corner on Sept 2, you may want to teach your children to show gratitude and appreciation for their teachers.
That said, most teachers here will not encourage nor accept expensive gifts. Instead, here are two do-it-yourself gifts you can make with your children at home.
Beeswax wrap
Plastic bags and cling wrap are passe. Why not go green with beeswax wraps instead? You can use them as sandwich bags by folding them. You can also cover the tops of half-open cans with one or even wrap cut fruit.
You will need:
- A piece of 100 per cent cotton fabric measuring 30cm by 35cm
- Food-grade beeswax. This can be bought online. Look for food-grade beeswax.
- Baking tray
- Aluminium foil
- Parchment or baking paper
- Brush
Instructions:
1. Wash and dry the fabric completely before starting on this project.
2. Cover your baking tray in aluminium foil. Then place a piece of parchment paper on the tray and lay your fabric over it. It does not matter which side of the fabric is facing upwards.
3. Scatter a handful of beeswax pellets or shavings over the surface. It is better to start with less wax and add more if you need to as you go along. Make sure there is enough beeswax to cover most of the cloth.
4. Pre-heat your oven to about 100 to 120 deg C. When the oven is hot enough, place the baking tray containing the fabric into the oven for about five minutes. Make sure the edges of the fabric do not come into contact with the sides of the oven. If your oven is too small, use a smaller piece of fabric instead.
5. Keep an eye on the fabric. When the beeswax has partially melted, remove the tray from the oven. Be careful as the tray will be hot.

6. Work quickly. Use the brush to spread the beeswax over the entire fabric. Make sure every centimetre is covered, especially the edges.
7. Leave the fabric to cool. When it feels cool, flip it over and look at it under a light. You may spot areas which have not been covered by beeswax.
8. To cover up these areas, add more beeswax and put the fabric other-side-up into the oven. Again, remove the fabric when the beeswax has melted slightly. Use the same brush to spread the beeswax and cover up any neglected spots.
9. When you are done, hang the fabric up to air dry. Once it is fully dry and stiff, give it a good rinse before packing it with a handmade card as a gift.
If you are worried the recipient will not know what these wraps are for, you can cut out this guide and include it in your gift, or print it on a separate sheet of paper:

A guide to beeswax wraps
Unfold your beeswax wrap and crumple it. The heat from the friction will make the wrap more pliable.
To cover a bowl or other container, squeeze the wrap with your hands for two to three seconds along the sides of the bowl to shape it. You can also rub it lightly with your fingers to make it adhere to the bowl.
To use it to wrap food such as an apple or a sandwich, place the food directly in the centre and fold the wrap on itself.
Beeswax wraps can be washed by hand and with mild dish soap. Leave it to dry and it is ready to be reused.
Stamped cards

Handwritten messages are always appreciated and more so when they come on handmade cards instead of store-bought ones. You can also personalise the stamps for the cards.
You will need:
- Plain cards of any colour
- Stamps. You can carve your own rubber stamps or get affordable ones at places like Daiso or from online marketplaces like Lazada or Shopee.
- Acrylic block
- Ink pads
- Colour pencils, markers and various art supplies
Instructions:
1. Use clear polymer stamps attached to an acrylic block.
Clear polymer stamps are made of photopolymer material, and ink sticks well to the stamp's design, resulting in a crisp stamped image.
If you do not have a block, the base of plastic takeaway containers will also work.
2. Ink the surface of the stamp.
3. Position it over a card and press downwards evenly. Even pressure will ensure a legible print.
4. Write a simple message on the back of the card. For instance, you can encourage your child to thank his or her teacher for a particularly memorable lesson or something he or she has done for the class.


