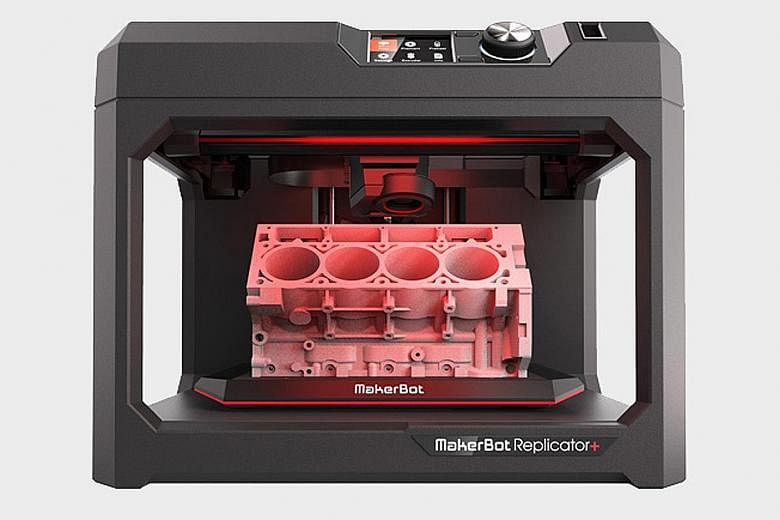

The MakerBot Replicator+, which was launched last month, is the sixth and latest addition to MakerBot's Replicator line of desktop 3D printers.
Replicators have long been a great entry-level printer, with novice-friendly software and a strong community of creators sharing their designs on MakerBot's Thingiverse. The Replicator+ continues that tradition, and ups the ante with 25 per cent more print volume and 30 per cent more print speed than its predecessor.
It works using fused deposition modelling.
In layman terms, this means that the machine heats up a length of plastic to around 215 deg C, and then a nozzle extrudes a thin filament of the melted material. It deposits this in layers, which then build up to form an object.
As a complete novice to 3D printing, my favourite part about the Replicator+ was how fantastically simple it was to operate.
As 3D printers have a reputation for being fiddly and requiring a lot of technical know-how to use, I was slightly apprehensive when I received the Replicator+ unboxed and without any manual.
However, getting the machine going was simple. There was an LCD screen and a dial on the front panel that let me navigate through a series of straightforward menus. Within 15 minutes, I had accessed the test models, and 3D printed my first object - a small, square box.
-
TECH SPECS
-
PRICE: $4,410 (introductory price of $3,500 from Image Transforms)
PRINT TECHNOLOGY: Fused Deposition Modelling
BUILD VOLUME: 29.5cm (L) x 19.5cm (W) x 16.5cm (H)
MINIMUM LAYER RESOLUTION: 100 microns
MAXIMUM LAYER RESOLUTION: 400 microns
NOZZLE DIAMETER: 0.4mm
CONNECTIVITY: Wi-Fi, Ethernet, USB
-
RATING
FEATURES: 5/5
DESIGN: 5/5
PERFORMANCE: 4/5
VALUE FOR MONEY: 3/5
OVERALL: 4/5
To print something a little more exciting than that, you can go to MakerBot's Thingiverse community (www.thingiverse.com), a portal where users upload and share their 3D designs for objects. Some of these objects are whimsical (Halloween cookie cutters) and some are practical (a phone stand), but what they all have in common is that they can be tweaked to your specifications.
To prepare a design for the Replicator+ printer, you will need to download MakerBot Print (not MakerBot Desktop, which is compatible only with older models).
Aside from processing the file into the right format, the software can be used to tweak parameters such as object scaling, supports, filament width and nozzle speed. I used the default settings for my prints.
After you have exported the file, it can be loaded onto the printer in four ways: via a USB stick, a USB cable, Ethernet and Wi-Fi.
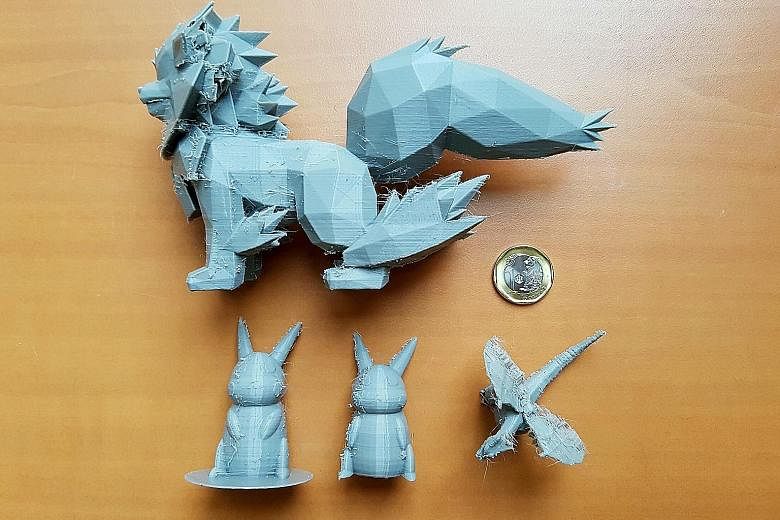
My first print was a series of four Pokemon figurines: two Pikachus, one Charizard and one Arcanine (see picture). The whole printing process took 12hr 58min.
While I love how easy it was to get everything up and running, the results of my 3D-printing endeavours were less than stellar.
My second print included a statue with a large round base. About 2hr in, the base began to warp upwards, to the point that the extruder nozzle kept jamming. I had to abandon the print, and start over again.
I also found that there was extensive stringing between parts, which made it look like my objects were draped in a cobweb of fine plastic filaments.
Stringing happens when the nozzle travels through an empty part of the model, but is still dripping plastic, so a hair-thin filament of plastic gets deposited in the space.
These problems could have been solved with a little more tweaking on my part; for example, covering the base in blue tape for better adhesion or lowering the print temperature to prevent warping, or changing the retraction settings on the nozzle to ward off stringing.
While I did not have time to test all these small tweaks, I am sure that the printer would have performed better with optimal parameters.
As it is, the MakerBot Replicator+ won me over with its ease of use and the vibrant MakerBot Thingiverse community.
For newbies looking for a machine to ease their way into the world of 3D printing, this should definitely be a candidate.